We just moved in to this duplex and it has all hard wood floors on the first floor. I was in desperate need of a large area rug for under the sectional and coffee table. So I started scouring the internet looking for an option.
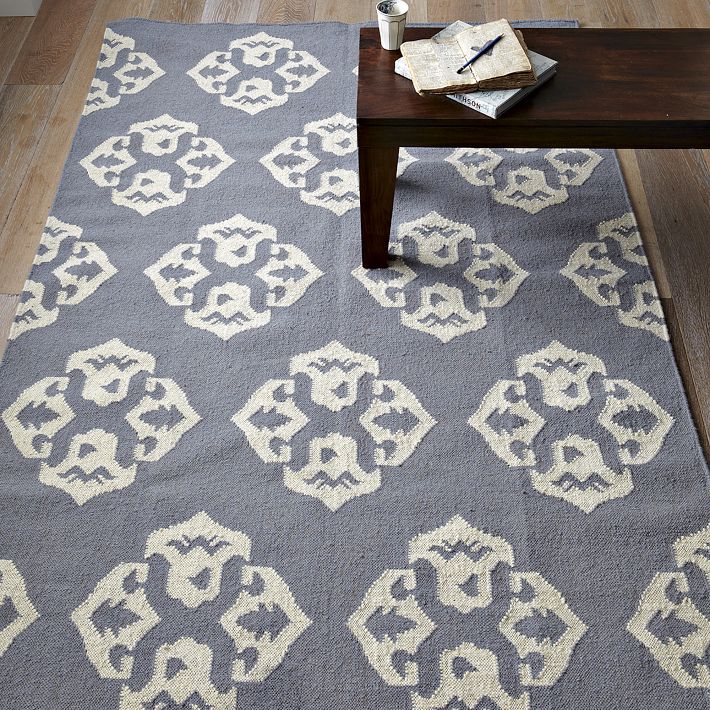
I loved these ...
 |
| {west elm} |
 |
| {west elm} |
 |
| {west elm} |
Unfortunately, for the size we need the cost of one of these rugs was going to be $500+. Yowza! I'm not paying that for a rug in a rental house. So... I started looking up some other ideas. I found an idea where you can paint the Erslev flat woven white rug from IKEA. Cost of this rug (in Canada) $70. Bingo! Now we are talking. So I found all of these amazing people out there that have created something brilliant out of a $70 rug.
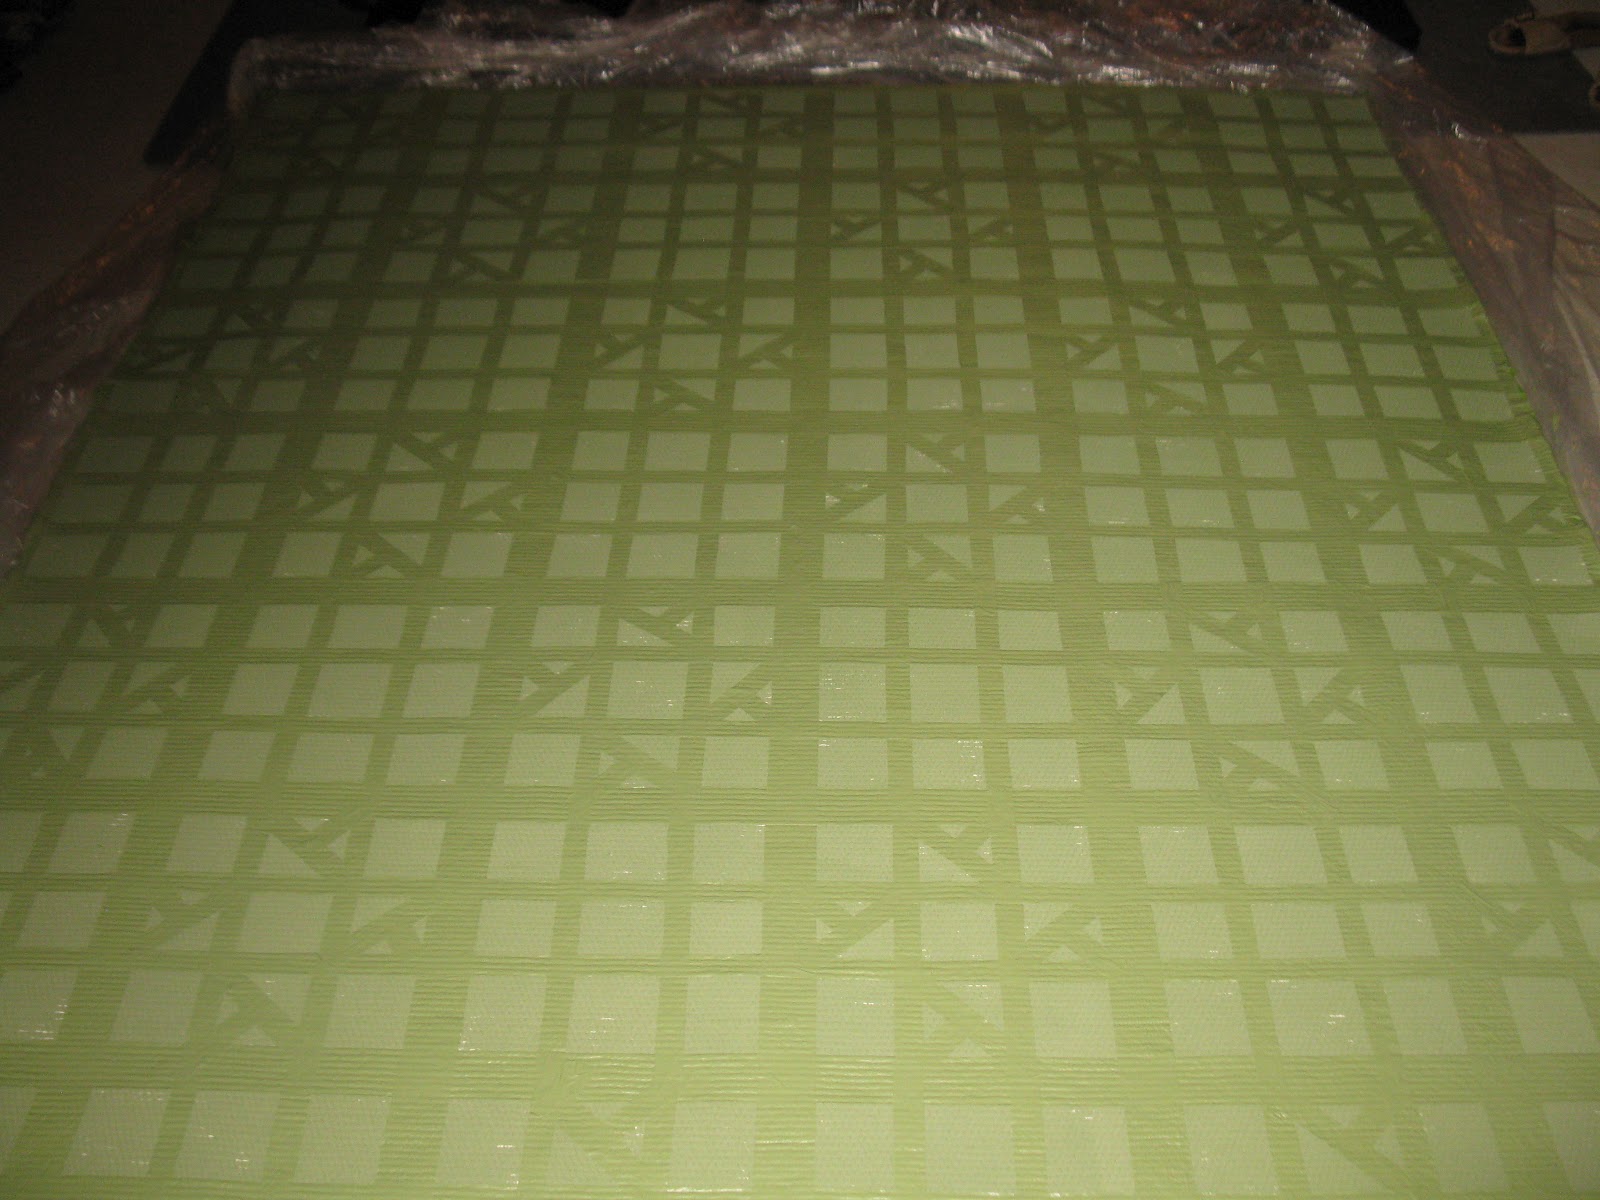
I love the dhurrie patterns above but I have no patience for stenciling. And I'm pregnant so I knew I was just setting myself up for failure if I tried anything like that. I used the instructions from Oh Sweet Escape to get me off the ground and running. For complete instructions I would reference her site. You'll need plenty of FROG painters tape, 2 quarts of latex paint, 1 large bottle of fabric medium, paint roller, paint pan, large 4 qt bucket, plastic sheeting, and a yard stick/tape measure. In a nutshell, lay out your pattern with painters tape over the rug. This took me about 4 1/2 hours (I'm also 26 weeks pregnant so I had to take some breaks).
Then mix the fabric medium and latex paint together in a large bucket. I used 3 quarts and 3/4 of the bottle. Note, Oh Sweet Escape says her paint lightened two shades when she applied the medium. So I went with a darker than desired shade to start with. My paint really didn't lighten so the rug turned out a little darker than expected. Once pattern is laid out roll paint over rug. Be careful not to roll too heavy or the paint will seep under tape. This takes about one hour.
Wait one day and then pull off the painters tape. The FROG tape works really well. I had a few minor bleeds but it doesn't look too bad for a handmade item. You can touch up if needed with a small brush.
And here is our end result. I think we spent less than $200 on all the supplies. Much better than $600! It took some time and a little patience but I think it was an overall success. I would do this again.

Labels: design, DIY, home project, our house